> For the complete documentation index, see [llms.txt](https://docs.optibase.io/llms.txt). Markdown versions of documentation pages are available by appending `.md` to page URLs; this page is available as [Markdown](https://docs.optibase.io/features/tests/connect-an-a-b-variant.md).
# Connect an A/B Variant
*If you using Webflow then you should follow the guide here:* [Optibase Webflow App](/webflow-app/optibase-webflow-app.md)
*Note: This is relevant for both A/B Tests and Variant Groups.*
Once you have created a Variant inside the Optibase web app, you need to connect it to an actual HTML element inside your website. This way, Optibase knows which HTML element belongs to which Variable/Test.
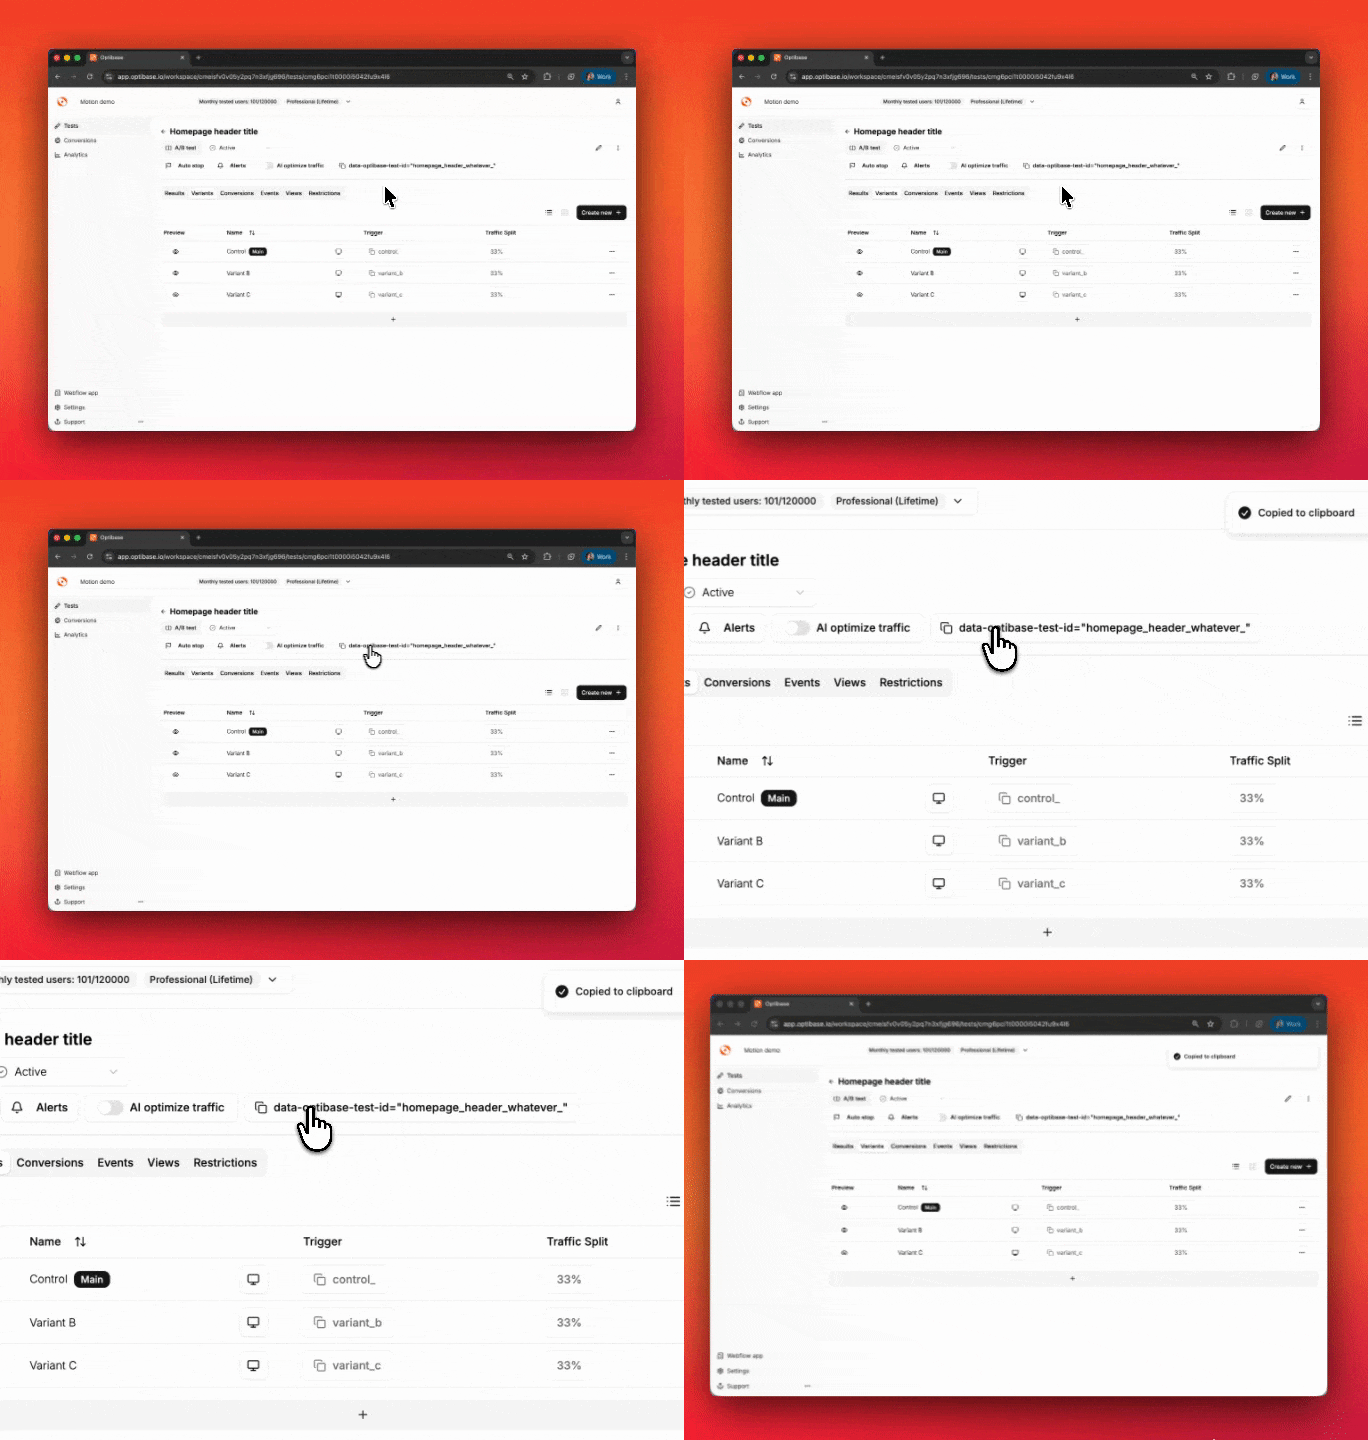
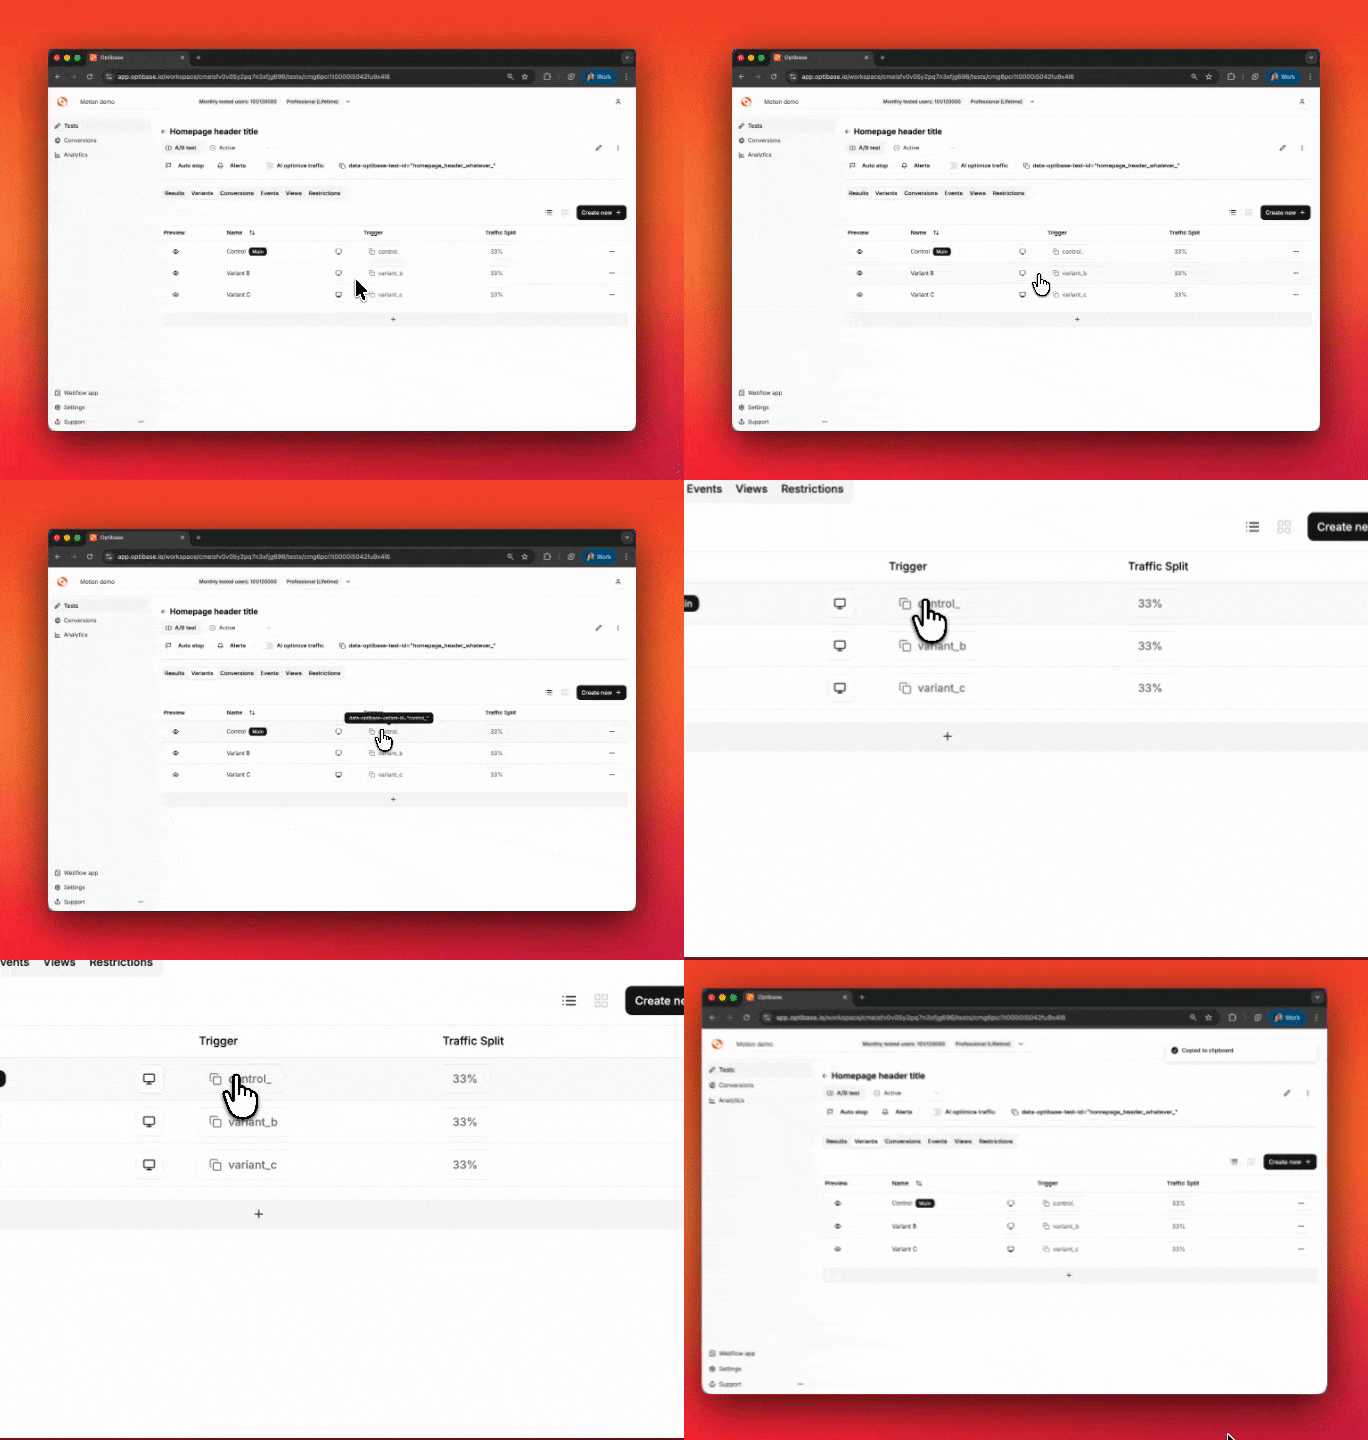
To connect a Variant to an HTML element, you need to add two custom attributes to the HTML element. One is the `data-optibase-test-id` , and the other is `data-optibase-variant-id`. If any of these are missing, your Test will not work.
You can find the `data-optibase-test-id` under the Test title on the Test Page:
You can find the `data-optibase-variant-id` in the Variants table under Trigger
You can copy them simply by clicking on them.
## Main Variant
When you first create a Variant, it will be marked as "Main". This Variant will be visible by default. This means that if a test is restricted or in Draft, this is the Variant that will be shown.
To connect the Main Variant, you simply need to add the custom attributes to the HTML element inside of your page.
Before:
```
Original Title
```
After:
```
Original Title
```
## Non-main Variant
After the Main Variant, you should create a new Variant inside of the web app the same way you created the Main one. All Variants created after the Main Variant should be hidden by default.
To connect a non-main variant, you should:
1. Copy of the HTML element connected to the main
2. Add the custom attributes of the newly created Variant to the copied HTML and hide it using the inline style: `style="display:none"`
Before:
```
Original Title
```
After:
```
Original Title
Alternate Title
```
Notice the different `data-optibase-variant-id` and the inline display style is set to none.
Your variants are now set up. You can set the Test to Active to start running it.
*Note: If you want to stop showing an A/B Variant to the users because it is underperforming, but don't want to delete it because you want to keep the data, you can simply disconnect it.*